
What is the Best Way to Collect Donations Online?
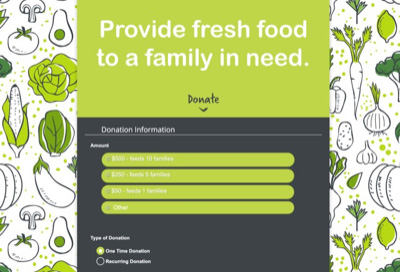
( 3.5 minute read )The best way to collect donations online is to use a donation form (like this one) that accepts credit and debit cards and ACH (e-check) payments. Your nonprofit can use it when requesting gifts from individual donors, board members, or corporations. Donors expect to have the convenience of online payments when contributing to their favorite causes. By offering supporters a way to use their credit cards to donate online, you’ll reduce fundraising costs, increase overall donations, and reach new donors.
5 Quick Steps to Form Success
Follow these five steps to start accepting online donations:
Designate a bank account to receive payments collected via your donation form.*
Create an online donation form to collect card and ACH payments.
Decide how you want donations and donor contact information to seamlessly flow into DonorPerfect.
Share your donation form with potential donors.
Download donations and donor contact information into DonorPerfect or set your system to sync form donations automatically.
*If you’ve already set up your Payment Services Account, you can skip this step.
1. How to Securely Collect Online Payments
DonorPerfect Online Forms collects payments* through the SafeSave Payments Gateway only. Stripe, Square, Paypal or other payment gateways are not compatible with DonorPerfect Online Forms. Setting up your bank account to accept payments via the SafeSave Payments Gateway is similar to other providers’ setup and offers the same levels of security and convenience. Plus, unlike other providers, payments via SafeSave Gateway are automatically recorded in DonorPerfect.

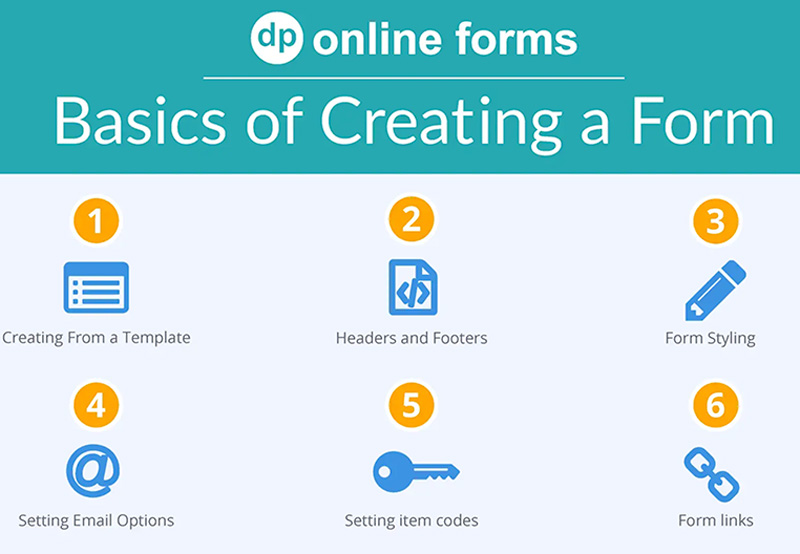
2. Create Your First Online Donation Form
- From DonorPerfect, click App Links > Online Forms.
- Click the yellow Add Form button.
- Select the Single Donation template.
- Name your form and select the payment and currency options.
- Specify an email address to receive forms confirmation emails.
- Click Finish Setup.
- Click Continue to Form to brand your new form to match your website.
BONUS: Once you create a form you like, it’s easy to copy it and update it for new campaigns.
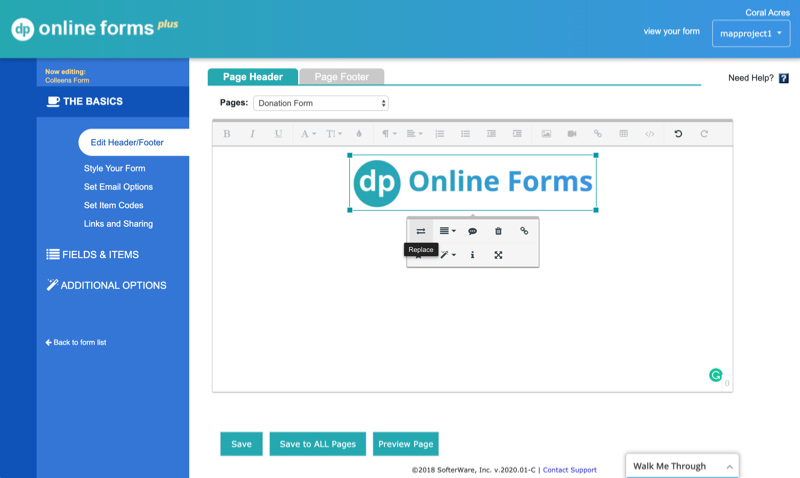
3. Create Trust with a Branded Donation Form
Branding your online donation form builds trust and increases the probability that supporters complete their donation. Start by adding your logo, address, and other relevant information to the header and footer of the form. Next, set the form’s colors and fonts to your organization’s brand.
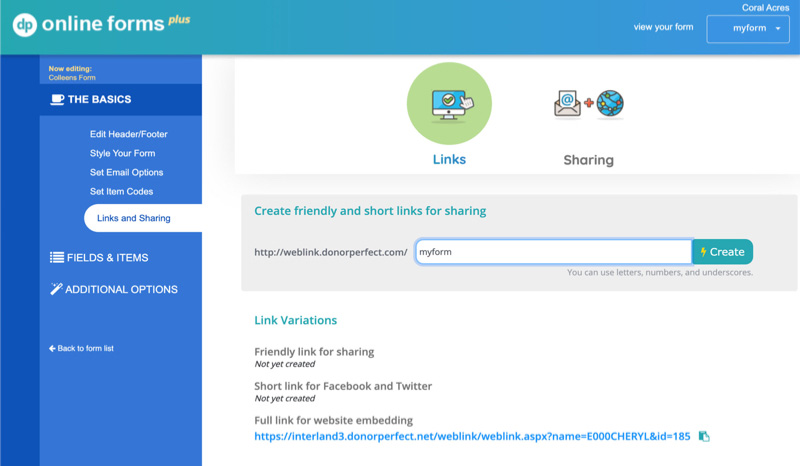
4. Get the Word Out! Share Your Donation Form
Make it easier to share and find your form with a dedicated website URL or form link that you send to donors. There are two ways to do this. You can embed your form into a dedicated website page and share that page’s URL, or you can create a custom form link.
Once you have a link to your form, it’s time to start sharing it! Share it in one or all of these 25 of the best places to share your form to keep donations flowing into your nonprofit.
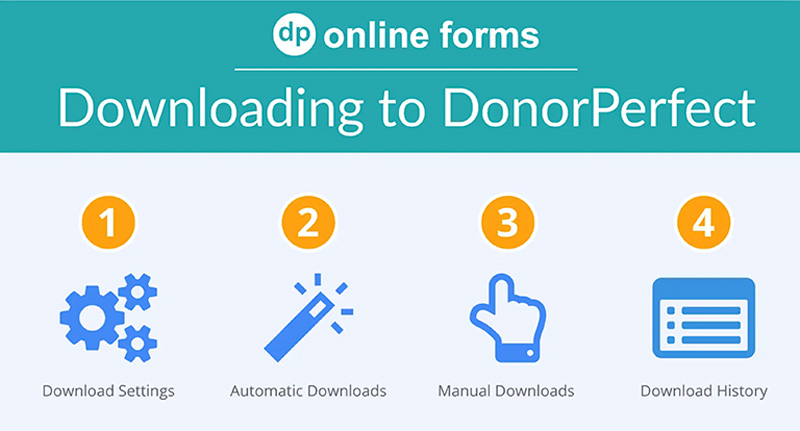
5. How to Download Donations and Donor Contact Info
Success!!! Your forms are live, and your donors are giving. How can you make sure the donations coming in through your forms are making it into your DonorPerfect database? The good news is, unlike Paypal, donations and donor contact information flow seamlessly into DonorPerfect. Save time and configure Online Forms to download form payments automatically. You can also select to review form entries for duplicates and download them directly to DonorPerfect.
BONUS: The Key Easy Form Reporting
Do you fill out the General Ledger, Solicitation, and Campaign fields when you enter gifts manually? Online Forms allow you to set up the same coding in your donation form. Any donation that comes in through an online form creates a gift record (and a donor record for a first-time donor), including any fields, like GL Code, that you specify during form creation. You can quickly run reports on donations collected through your forms.

Now that we've covered the basics, check out some ideas on how to best convert the supporters who visit your online donation form.